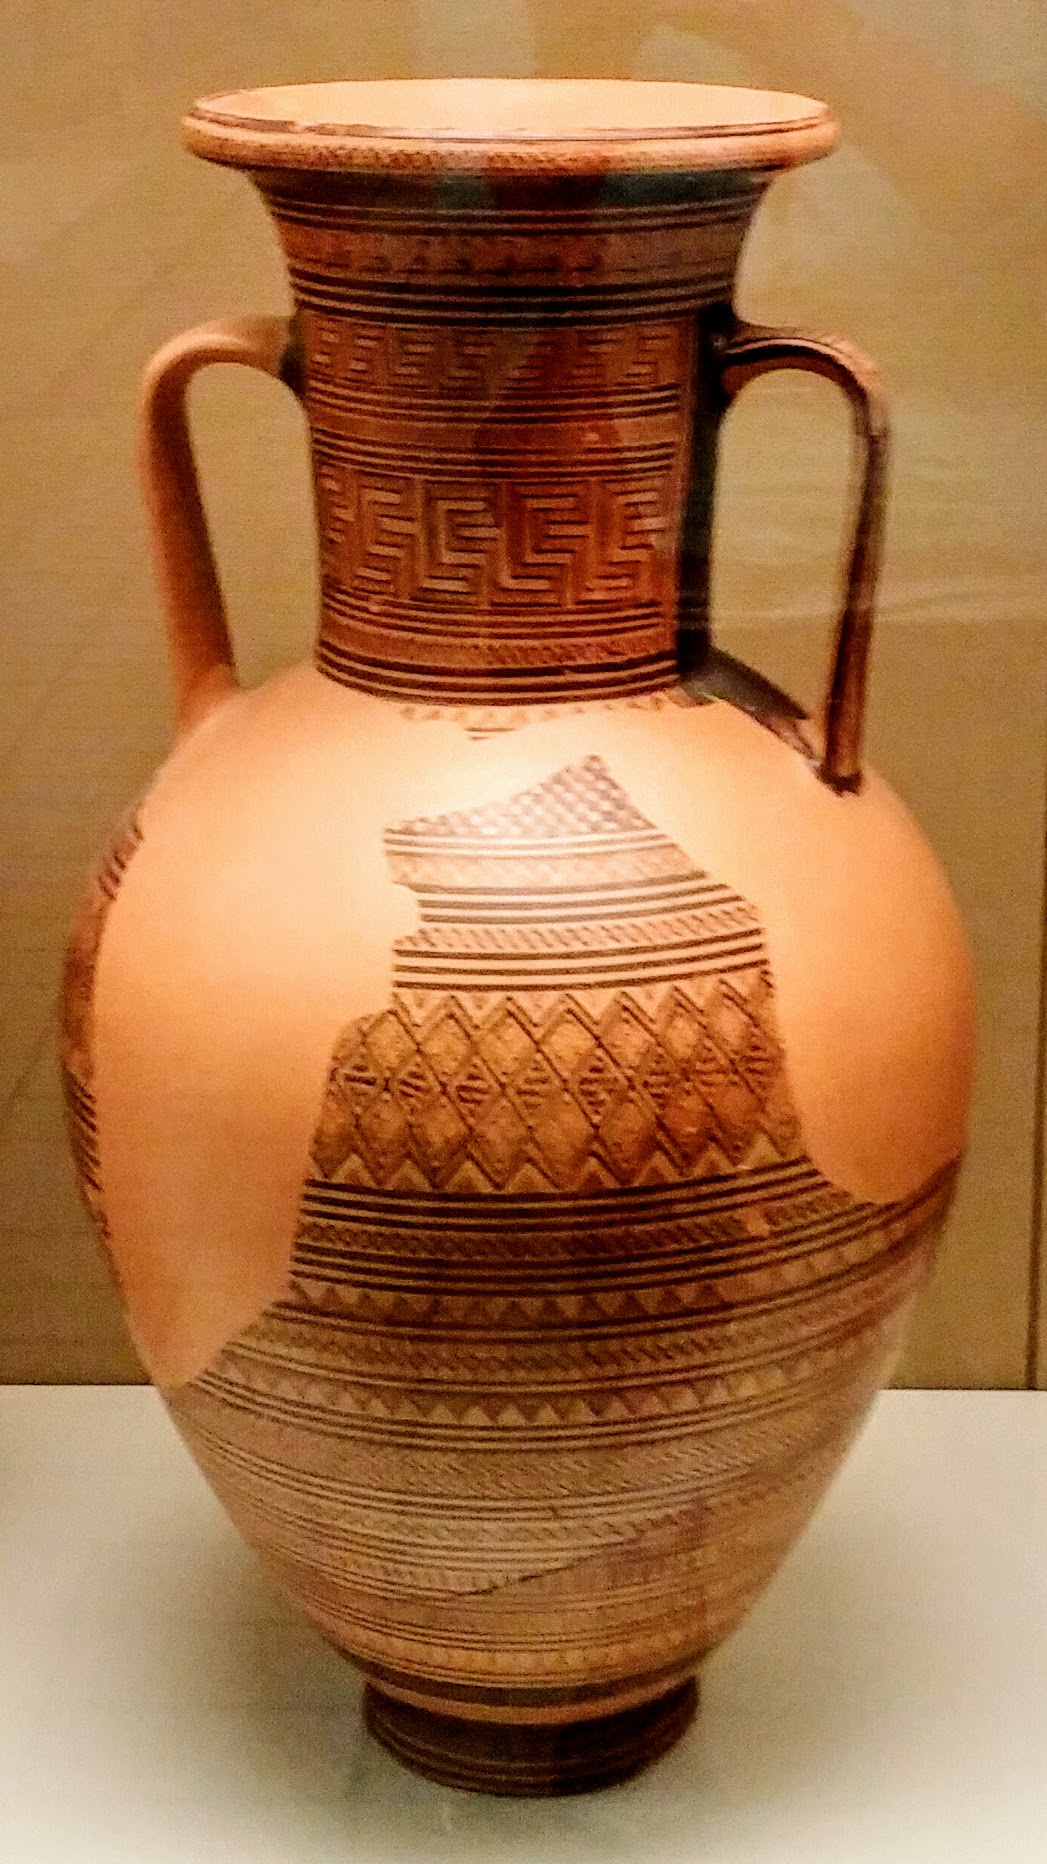
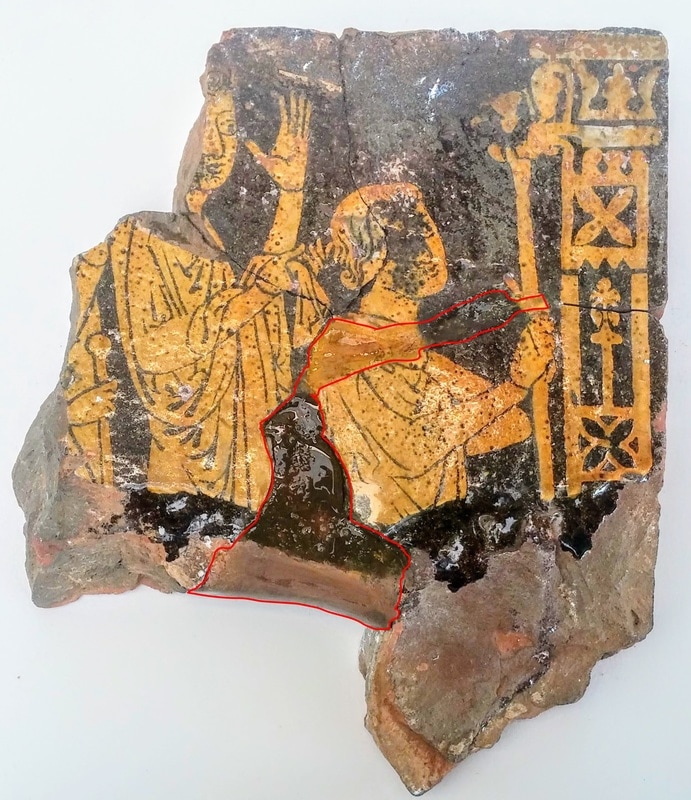
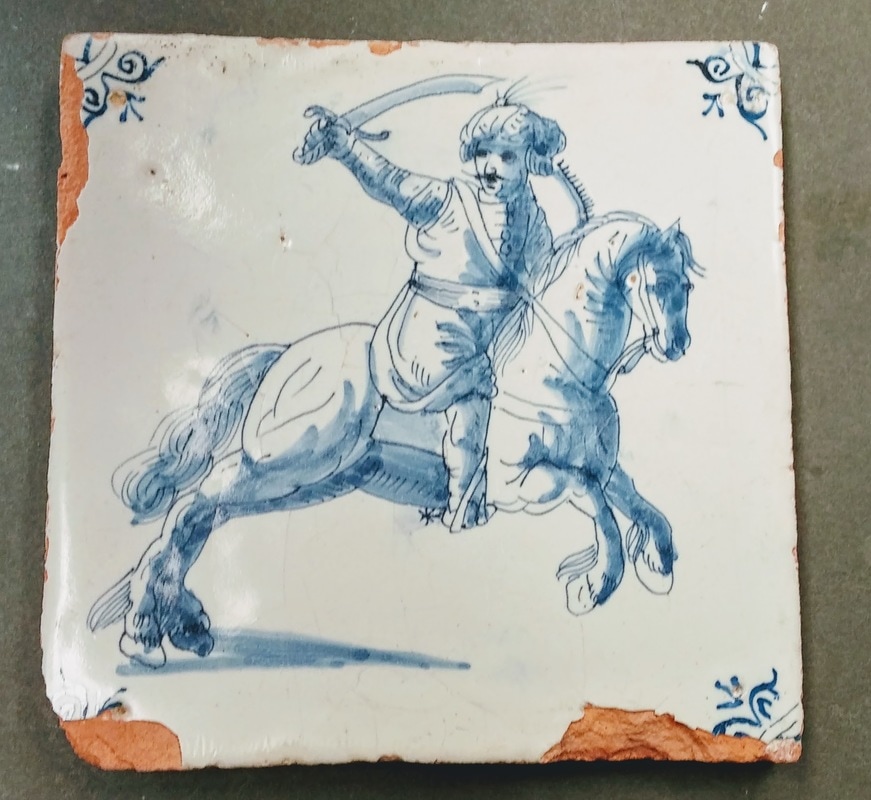
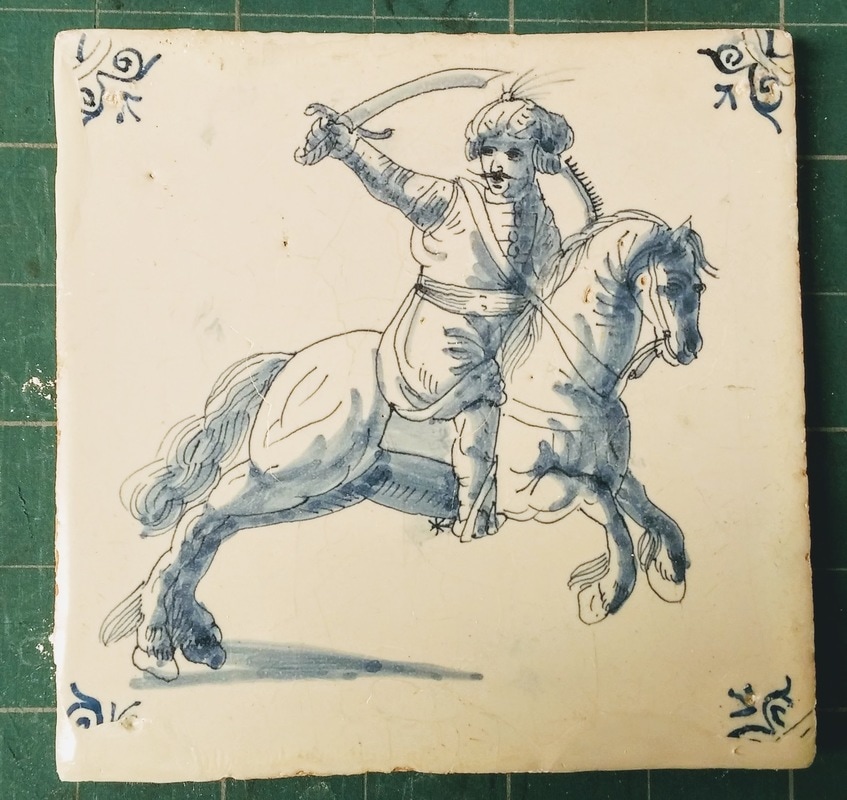
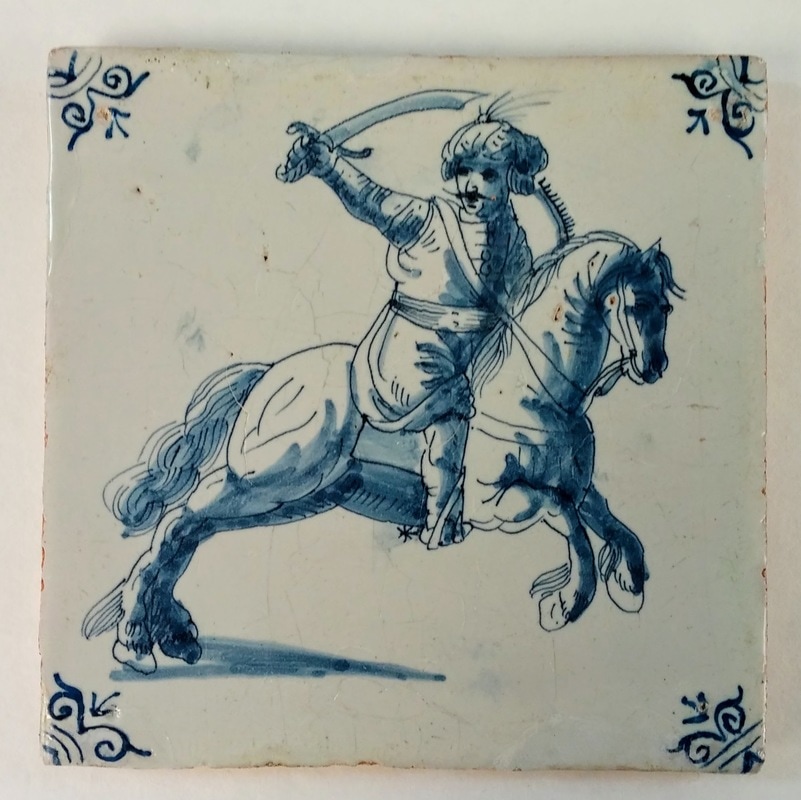
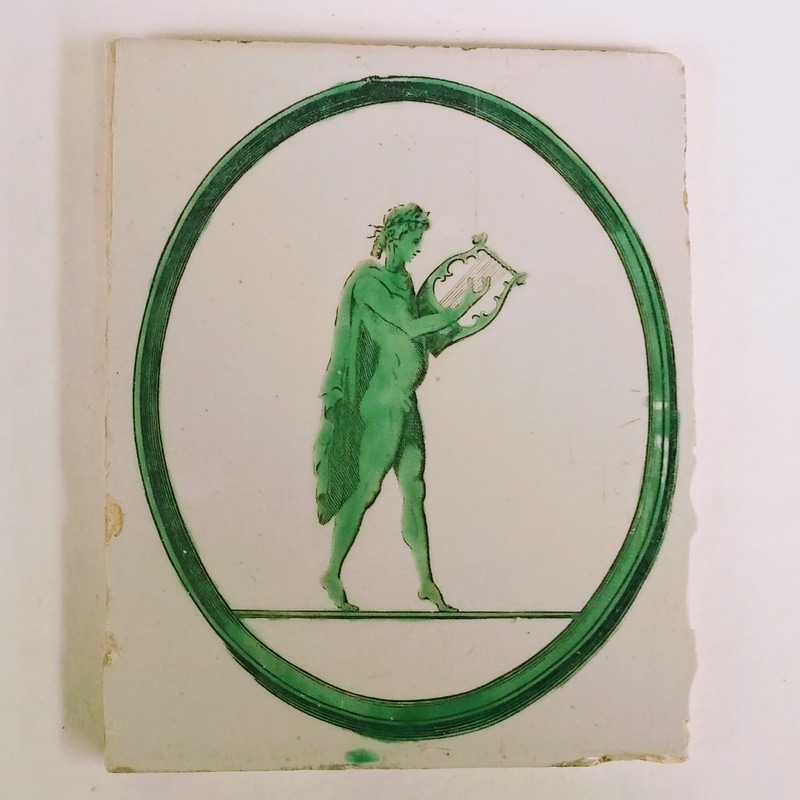
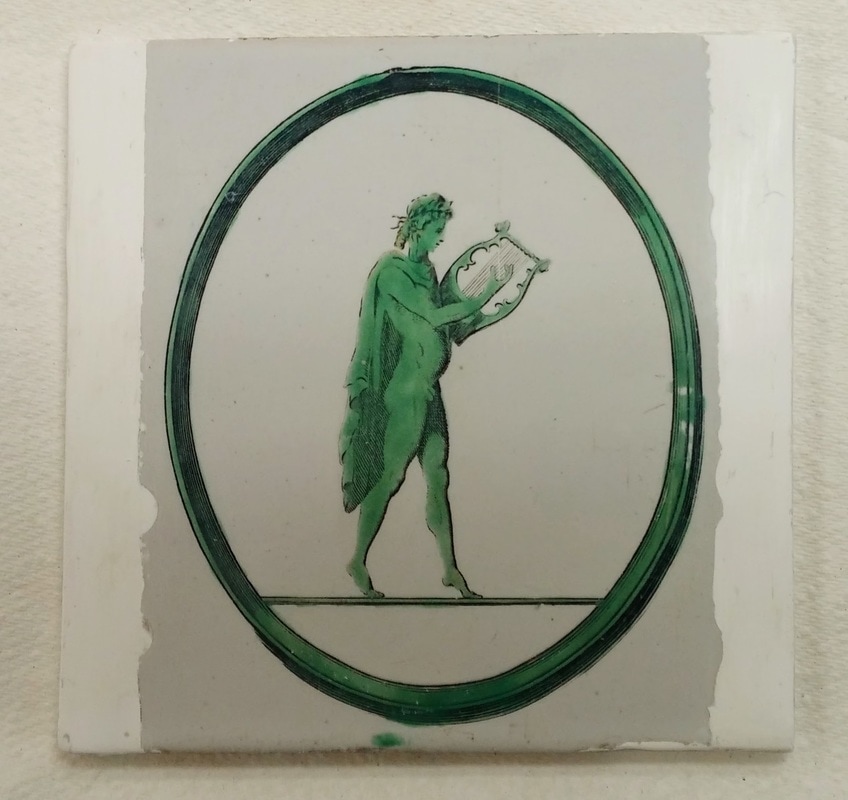
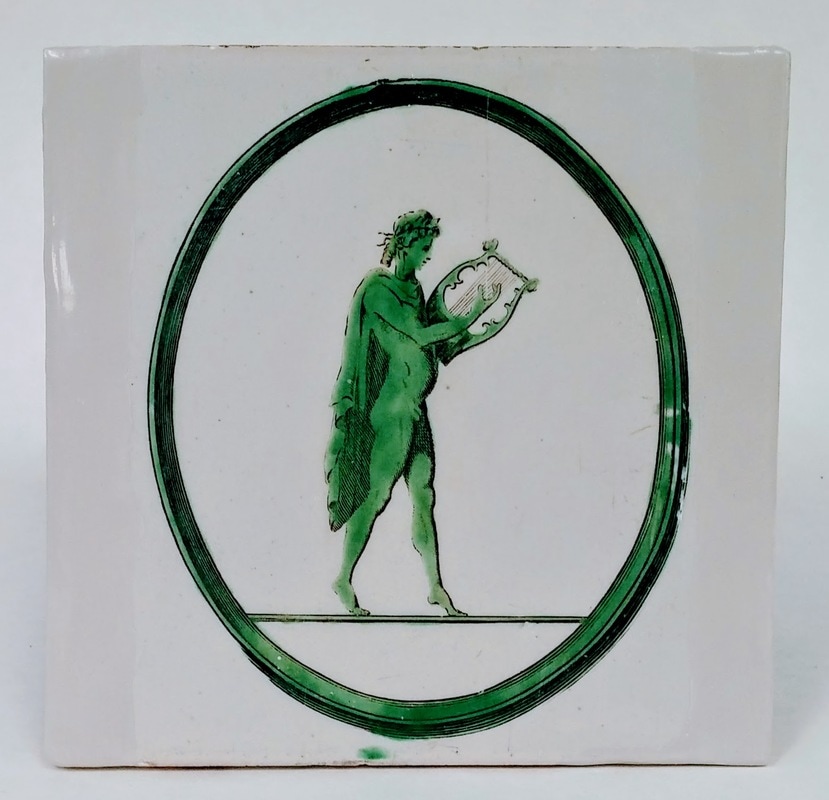
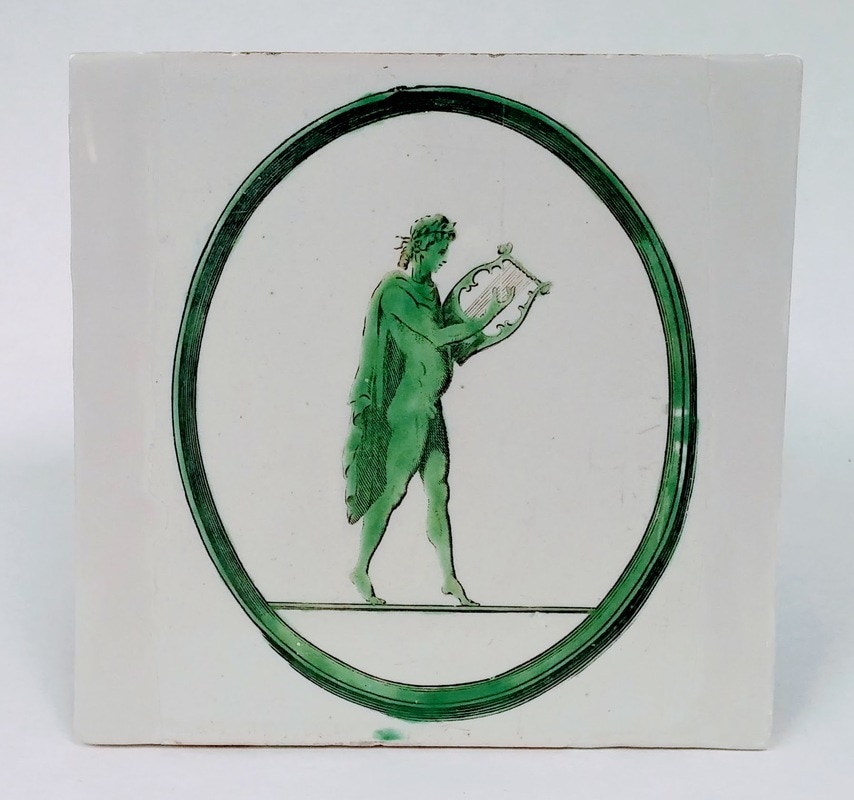
What is Inpainting?When we left off last month, 1969.4732.012 had been filled with Flügger and was ready to be painted. 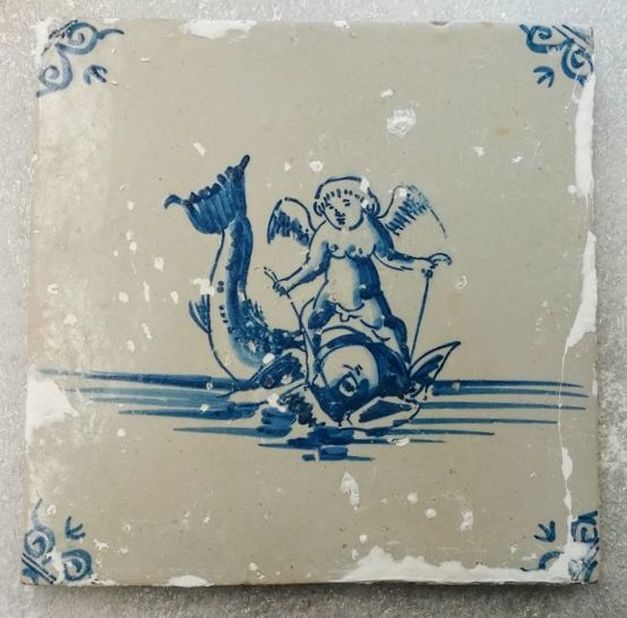 Before inpainting. But filling is not the hard part--especially on a flat object! The challenge comes when you try to inpaint, or match the color of the surrounding original material. The theory of inpainting is that the color of the filled area should not attract the viewer's eye like a white fill would (below, left). Generally with archaeological material from the British Museum, inpainting takes the form of toning the color of a fill to a neutral tone (below, center and right). Sometimes this backfires as in the case of a fill done on the Elgin Amphora before it came into the British Museum's collection. The bright, orange "neutral" tone draws the eye to the fill rather than the original material (below, center). In decorative arts collections like those at Winterthur, if the design is repeated or if other examples exist, it is sometimes replicated. The curator and I decided to go for a decorative arts approach to the tiles. They do not have any known provenience and many of their designs are well-documented. Their main significance in the collection is an aesthetic one. 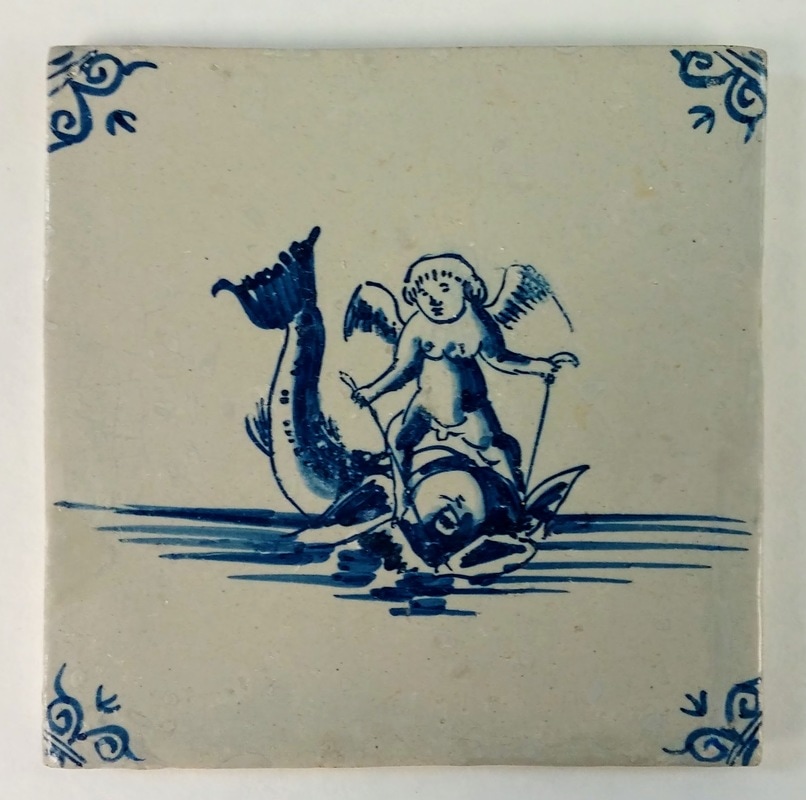 After inpainting. Inpainting should never cover any of the original material. When it does, it is called overpainting. Some restorers in the past painted over the original material in order to create a seamless color. This can have disastrous results when the paint ages poorly (see below). The red rectangles indicate the area of the tile that has been filled. The person who originally restored this tile painted over the fills and onto the glazed surface of the tile. At one time, this probably blended in very well. However, the cellulosic paint has discolored. As you will see, modern conservators use of inpainting can be almost as effective as overpainting at restoring the aesthetic integrity of works of art--but in a much more ethical and controlled way. 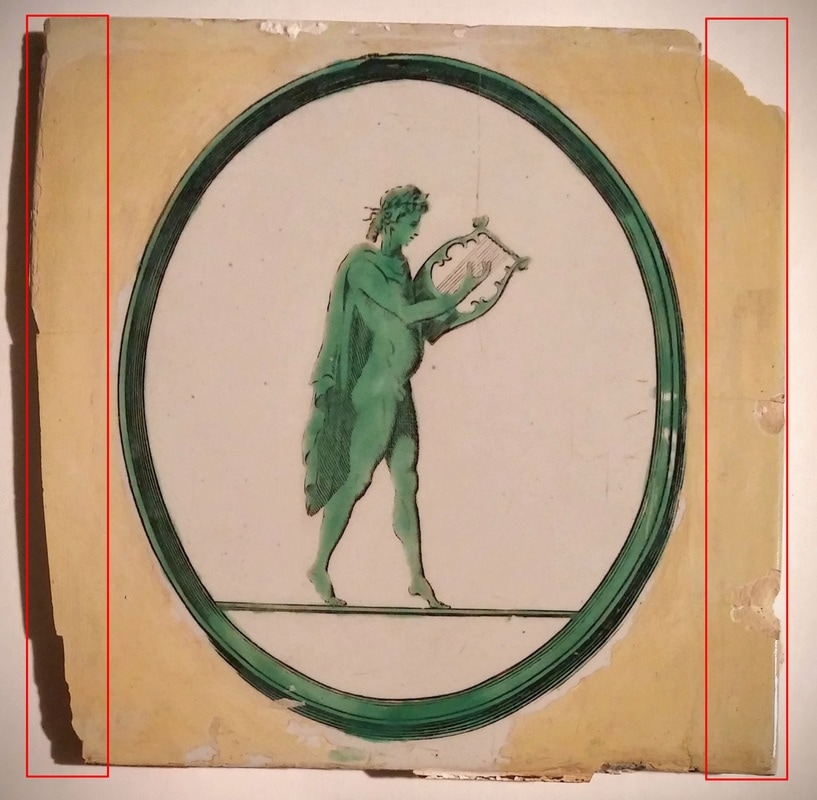 Historic fills and overpaint have aged poorly. The fills are made of a brittle epoxy material and the paint has discolored and is flaking. Both the fills and the paint will be removed. 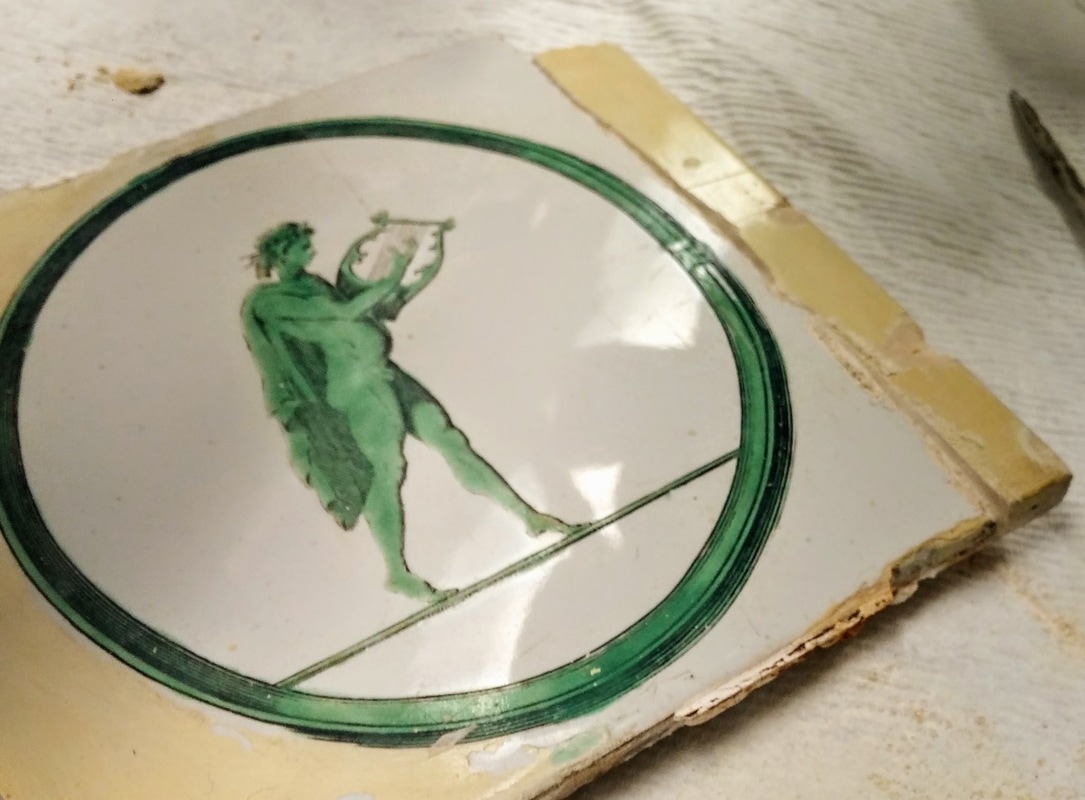 Removing some of the paint with a scalpel under a microscope to expose the filled area (right, yellow) and original white area. Pigments, Media, and Other MaterialsSome conservators prefer inpainting with dry, ground pigments, like this beautiful (and functional) display in the Winterthur Objects Conservation Lab. These are finely ground and applied to fills in a medium, such as Primal WS-24 or Golden Acrylics Porcelain Restoration Glaze.  Dry ground pigments, Winterthur Objects Lab. I've only really used them to make epoxy color fills for porcelain. These fills are very permanent so any guesswork with matching the color is best avoided. 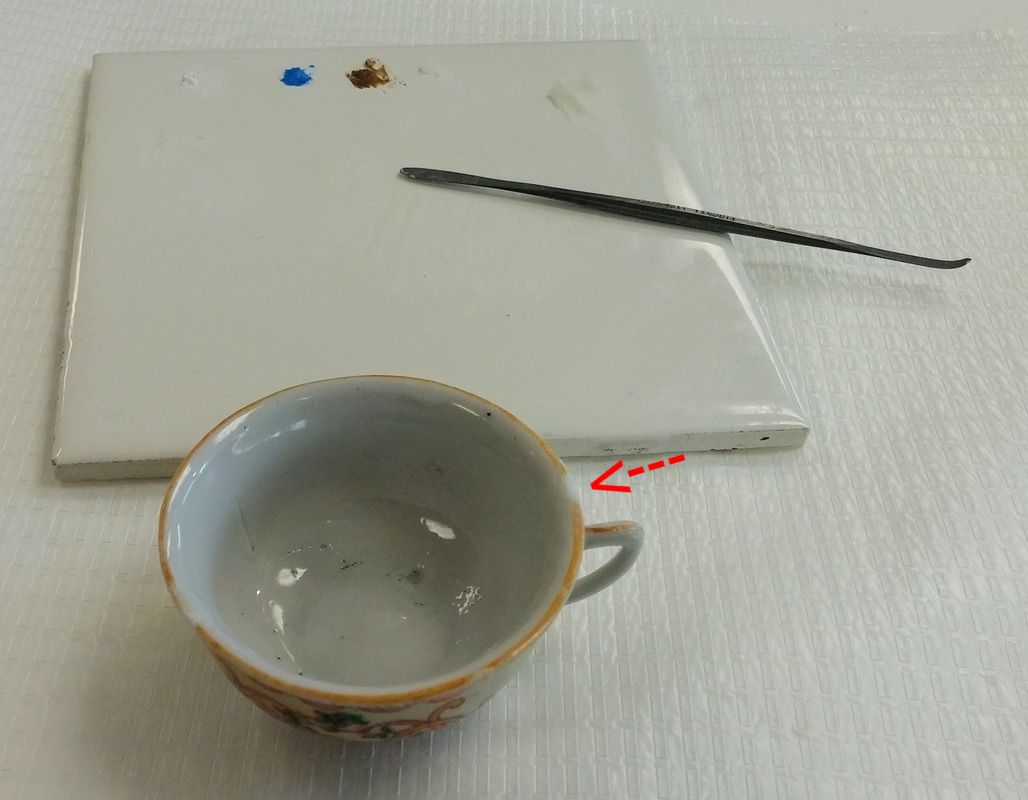 Epoxy color fills (red arrow) are most often used on porcelain as they allow conservators to match the color and translucency of porcelain. Sometimes conservators opt not to use them at all because of their irreversibility and tendency to yellow with age. I personally prefer using Golden Acrylic paints, because they are what I'm most familiar with. A major disadvantage of working with acrylic paint is that it dries slightly darker. This is especially challenging when trying to exactly match the color of a large area of fill! 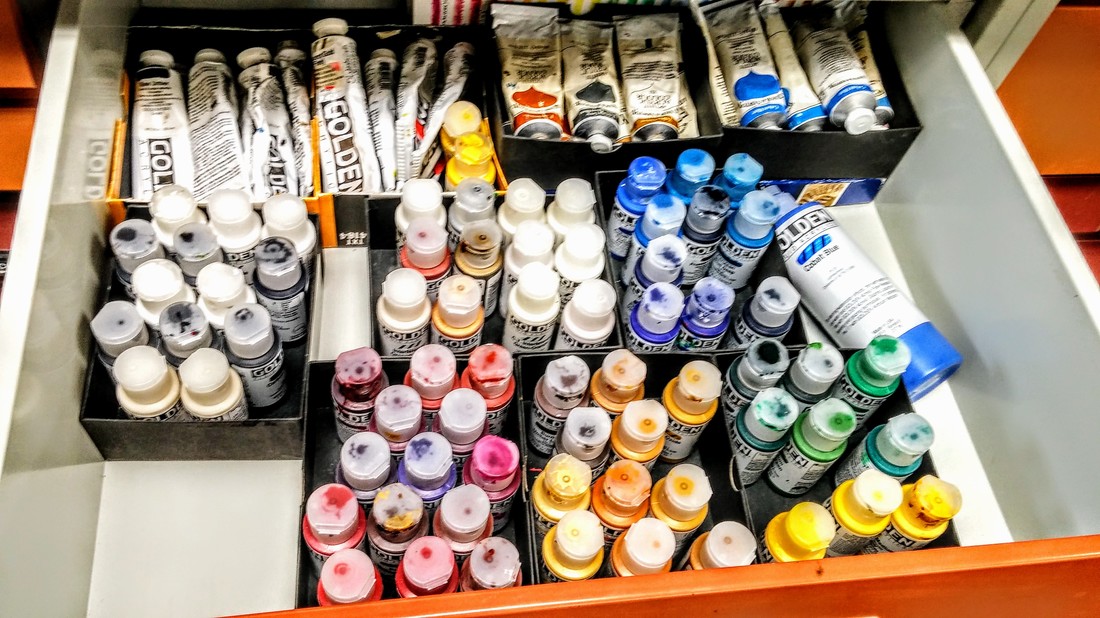 The last crucial materials for inpainting are the proper brushes (I especially like sable). I like using a Size 4 round brush and a 1/8" flat brush (a) for large areas of fill (as large as then can be on a 5 x 5 inch tile). Sizes 1 and 00 or 000 brushes are great for smaller fills or inpainting detailed designs (b). Brush (c) is a cheap Size 1 synthetic brush that I destroyed. It's great for replicating the spots and imperfections of a surface. 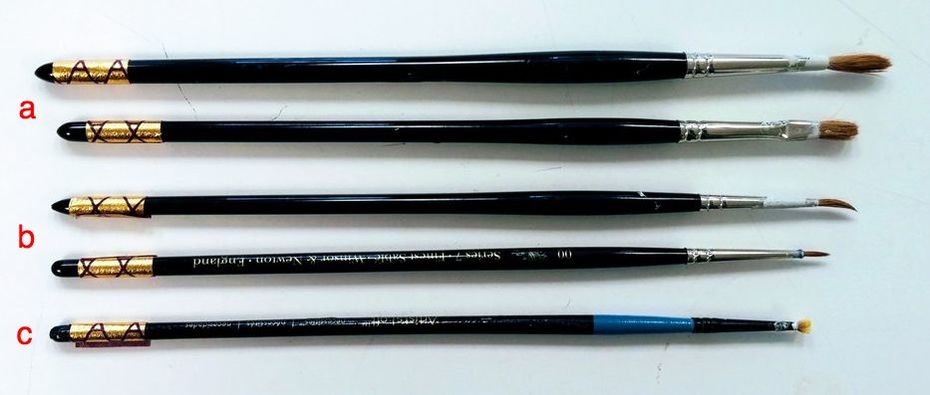 Inpainting Dutch and English Delft tiles For the two tiles I will present, I've been experimenting with a mix of acrylic paints and Primal WS-24, an acrylic dispersion. When dried, Primal has a hard, clear, glaze-like appearance. It can also be sanded with MicroMesh, fine-grade sandpaper to make the surface even more even. 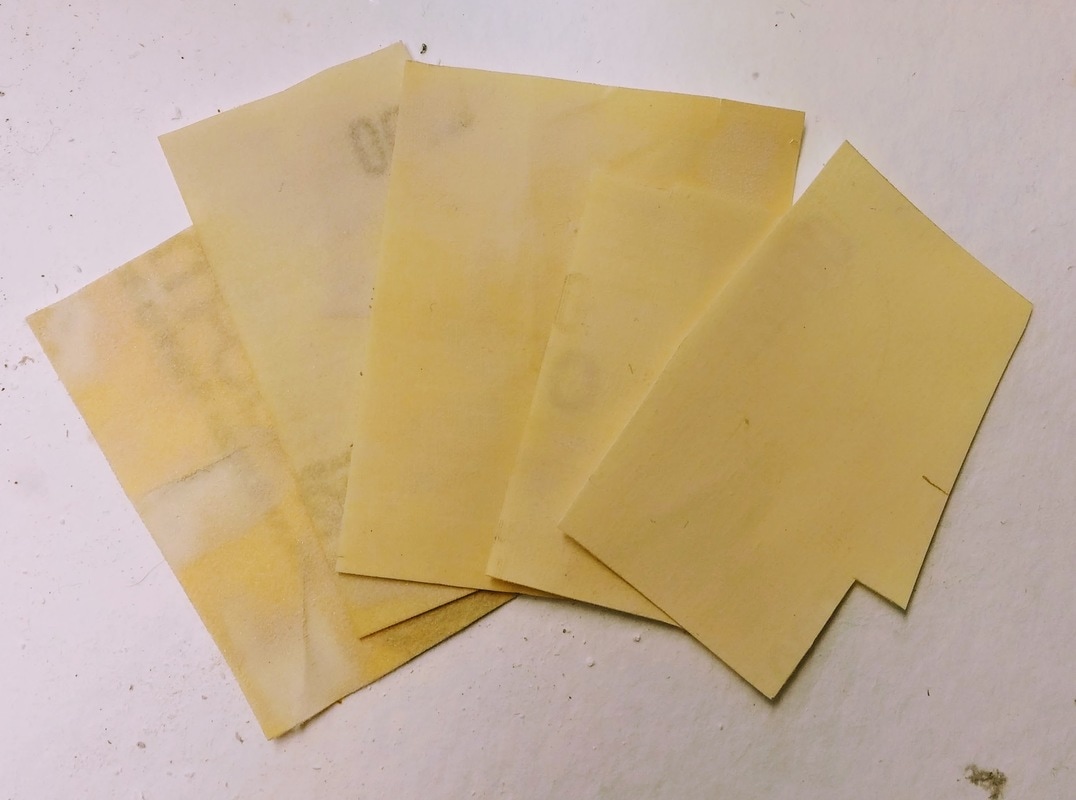 MicroMesh fine-grade sandpaper in grits 1500-12000 (left to right). Sometimes the conservation gods allow you to color match on the first try. This 17th century Dutch tile only took an hour to inpaint. But this is hardly the norm. Sometimes it takes hours and hours to get it right. If you were asked what color the English Delft tile below is, you would probably say white, right? In theory, yes. But when compared with the bright white of the detachable plaster fills (below, right), it appears much more gray. Matching this color involved mixing 8 different colors of paint including: Titan Buff, Titanium White, Paynes Gray, Cobalt Blue, Hansa Yellow Light, Yellow Ochre, Alizarin Crimson, and Raw Umber. As per advice from my high school paintings teacher (thanks Ms. Mortl!), I never use black paint. I added the different colors in very small amounts to Primal to match the tin-glaze. This process takes the longest--especially for such a large area of fill. The slightest difference in color will really stand out and distract the viewer. 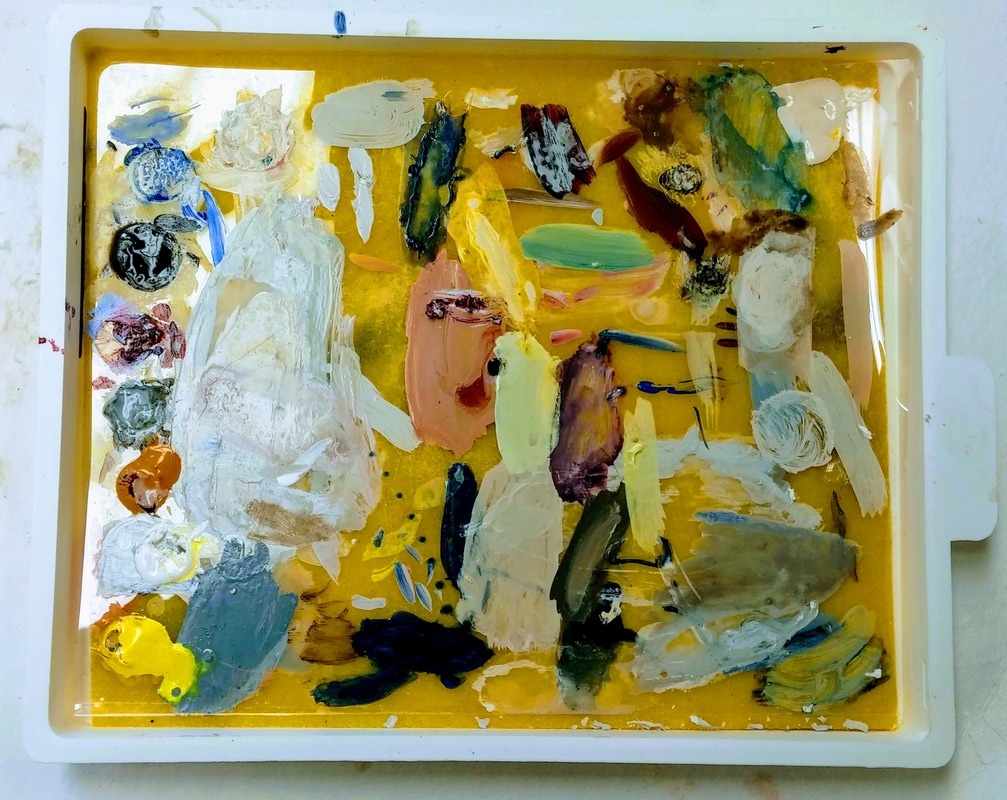 The lovely yellow sponge of my Sta-wet Palette keeps acrylic paints fresh over many days of work. Once the correct color is made (after many many many attempts), it was applied to the fills and allowed to dry for a week. The paint layers had dried differently, leaving a slightly raised and uneven surface. You can see in the photo on the left that this caused the fills to appear darker. To remedy this, I polished the painted surfaces with grades of MicroMesh up to 12000. This gave the tile a seamless surface, allowing the tile to be seen as it once would have looked, while allowing careful observers to see that it had been filled. Thanks for checking back! Be sure to check Twitter for updates under #WeirdTileoftheDay and #WeirdTileWednesday. Tune in in two weeks as I discuss how tiles were once mounted in fireplaces!
4 Comments
|
Madeline HagermanWinterthur Postgraduate Fellowship in Objects Conservation Archives
July 2018
Categories
All
|
 RSS Feed
