|
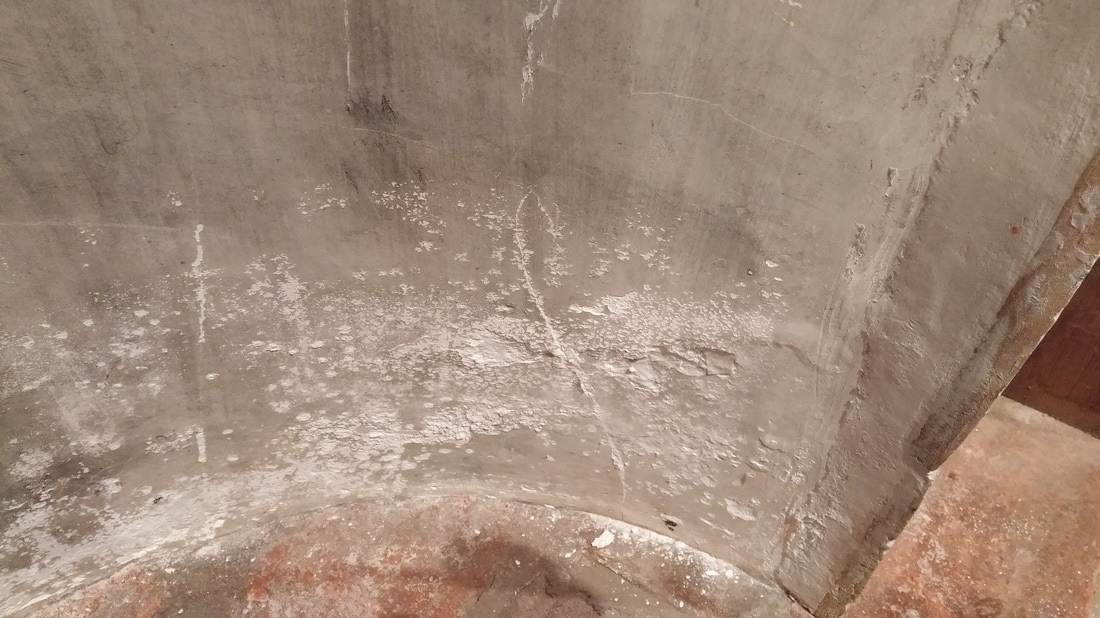
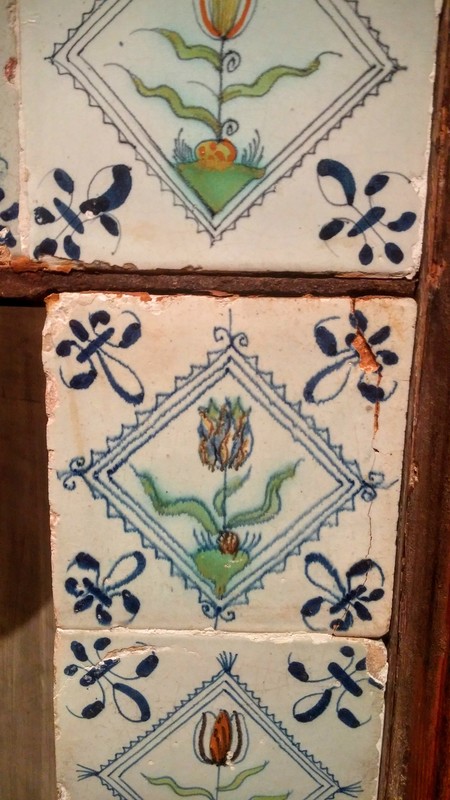
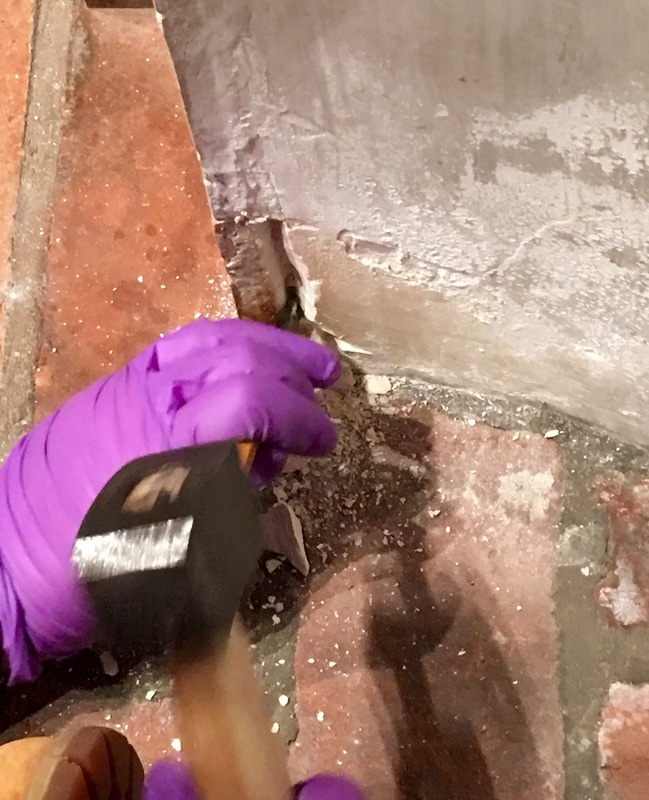
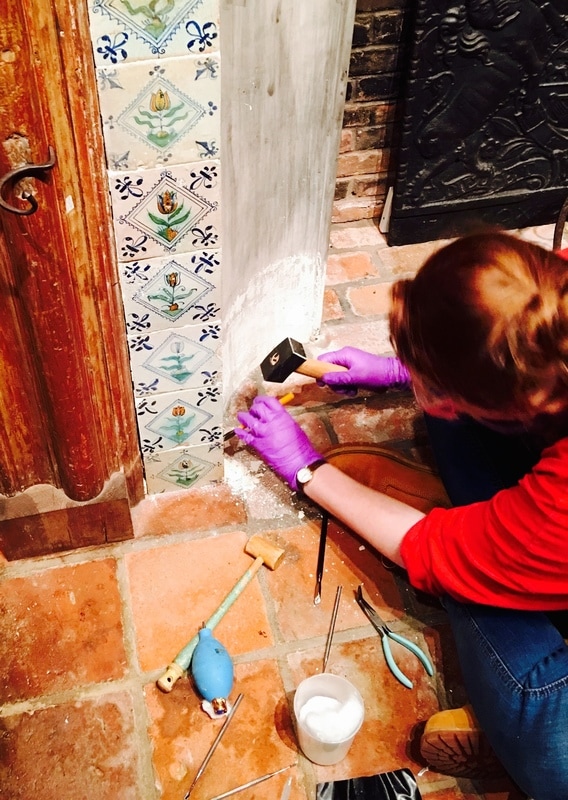
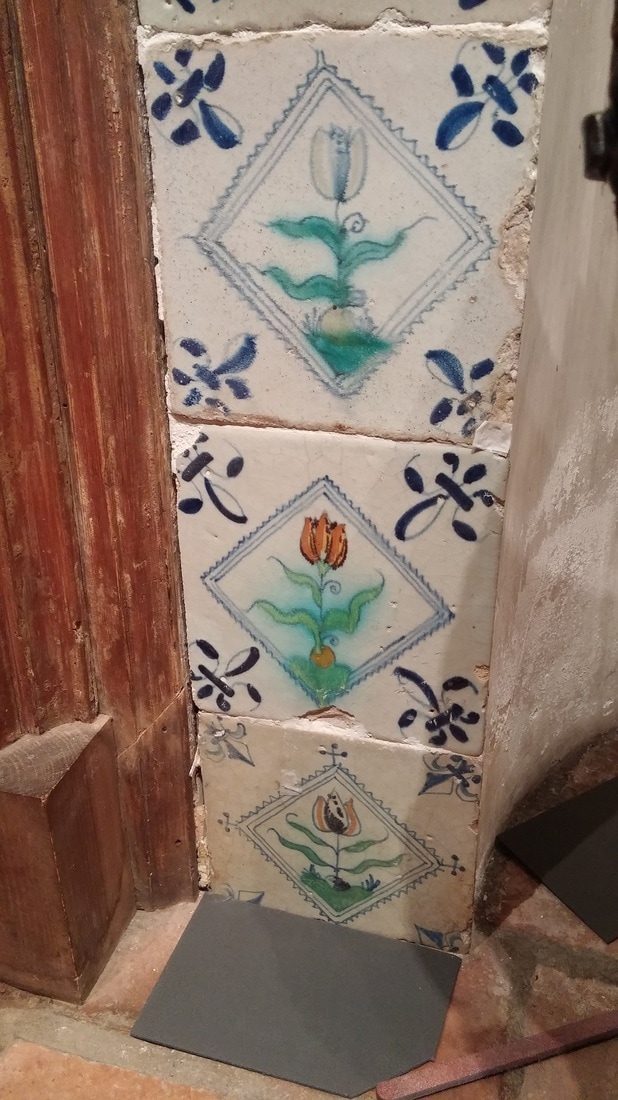
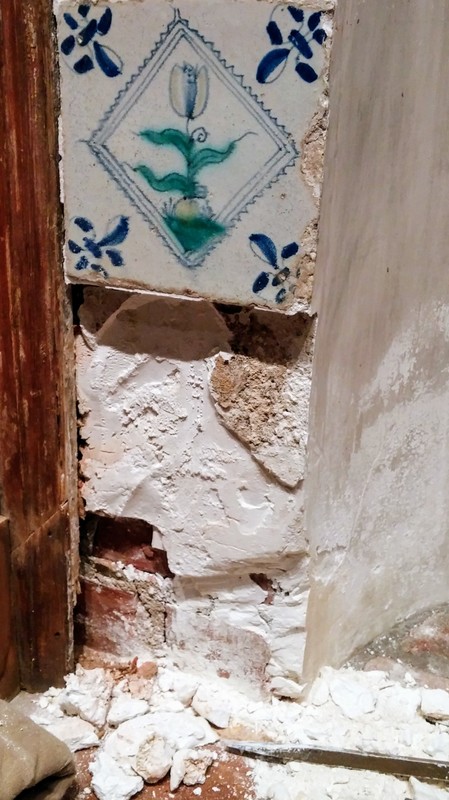
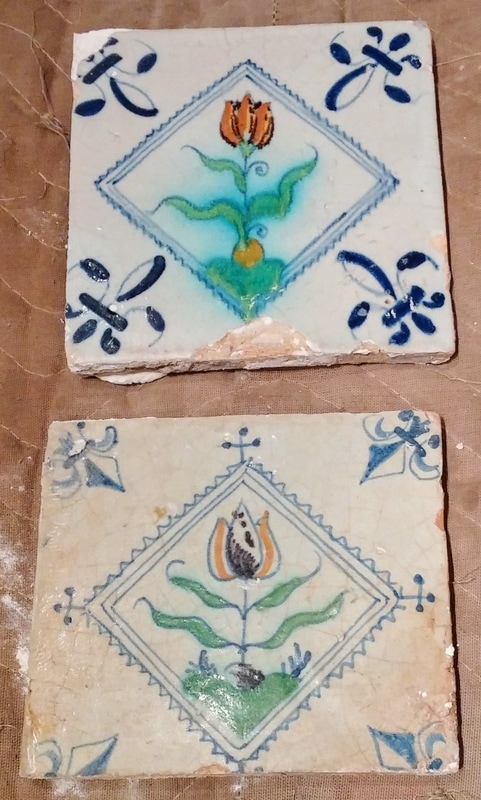
Most if not all of the Delft-tiled fireplaces at Winterthur are probably not original to the house. The Museum's Registration Department holds copies of Henry Francis du Pont's daybooks, journals where he meticulously recorded each and every antique and piece of art that he purchased. By comparing entries in his daybook to receipts from antique dealers, I can hypothesize that du Pont bought all of the tiles in his collection sometime between 1920 and 1940. These dates also correspond to when many of the rooms in the house with tiled fireplaces were installed. 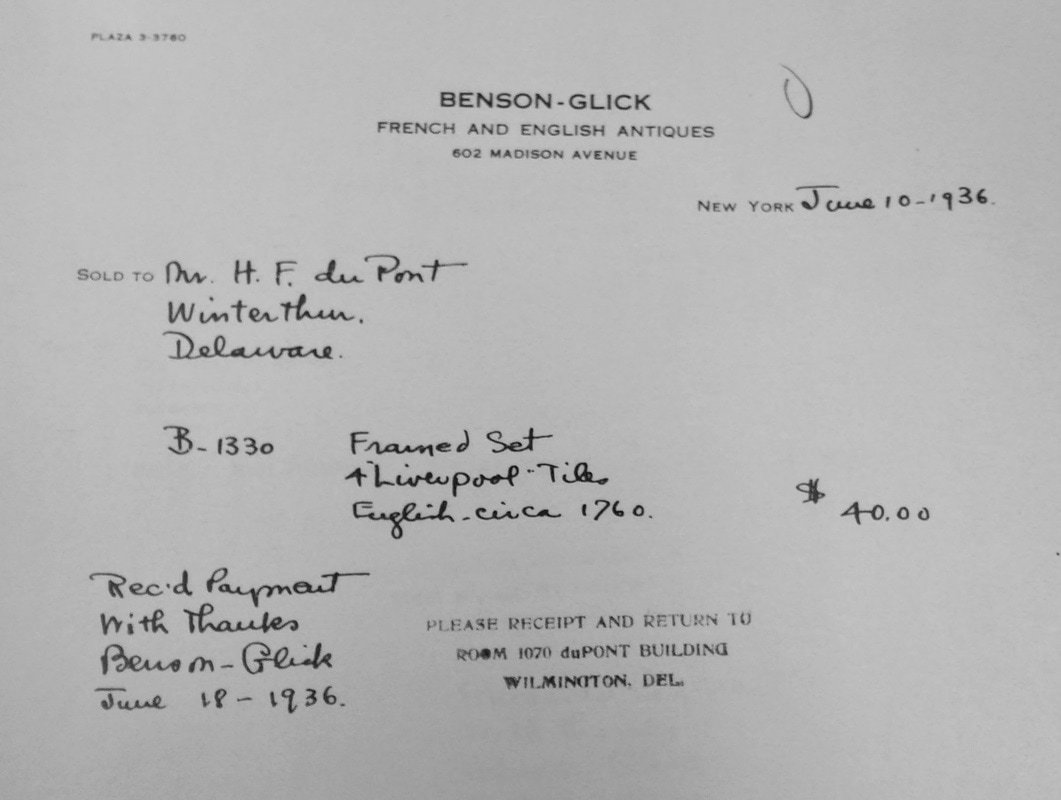 Bill of sale for 4 Liverpool Delft tiles from 1936. Unfortunately most of the descriptions in the daybooks and receipts are vague, making it hard to find provenience. Tiles are traditionally attached to fireplaces using a combination of a mortar (a thin sort of cement) and lime plaster. However, when the Winterthur tiled fireplaces were installed from the late 1920s to the early 1940s, builders bypassed the mortar, instead using gypsum plaster and a creative variety of "modern" materials. Portland Cement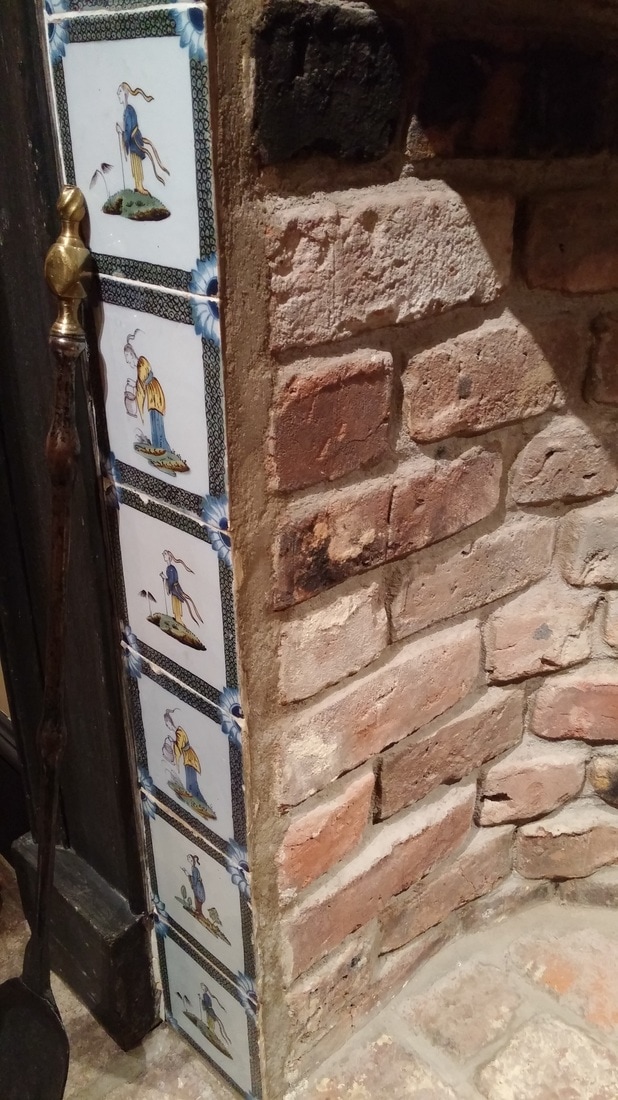 Tiles installed with Portland Cement in the Bertrand Room. The rather culturally insensitive Chinoiserie tiles from the 1750s in the Bertrand Room were installed using Portland cement in the 1930s. According to tile expert, Lesley Durbin of The Jackfield Conservation Studio, Portland cement is an inappropriate material to install Delft tiles. By their composition, tin-glazed earthenwares like Delft tiles are susceptible to the efflorescence of soluble salts. Soluble salts are normally held in the ceramic body, but when exposed to high humidity, they crystalize on the surface, damaging tiles and causing glaze to spall off. Portland cement also is much harder than tin-glazed ceramics, making the prospect of ever removing tiles from this fireplace daunting. Duco Cement?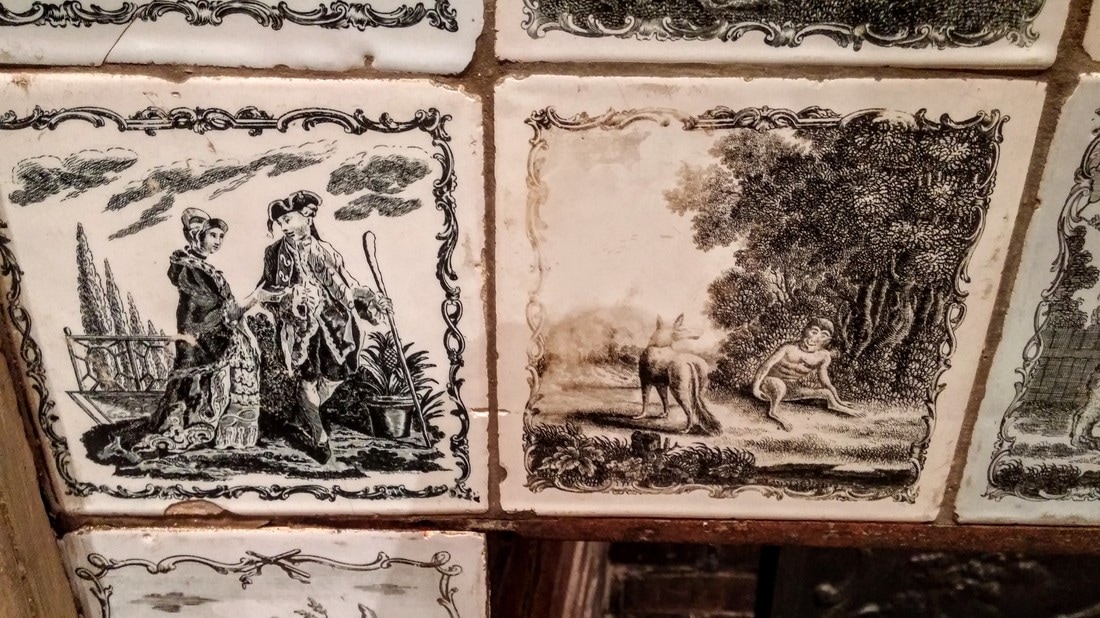 The tiles in the Patuxent fireplace surround were probably attached with DUCO® cement is a fast-drying, cellulose nitrate-based commercial cement. When viewed under long wave ultraviolet light, the grout and mortar fluoresce a light greenish yellow, a classic indicator of cellulose nitrate. The adhesive tends to discolor overtime, giving the grout between these tiles a dark brown stained color. Mysterious Surprises...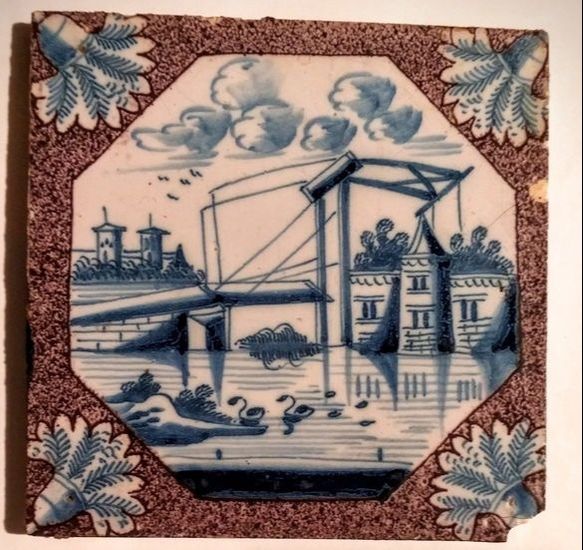 The front of this innocuous-looking tile masks a mysterious secret. When flipped over.... 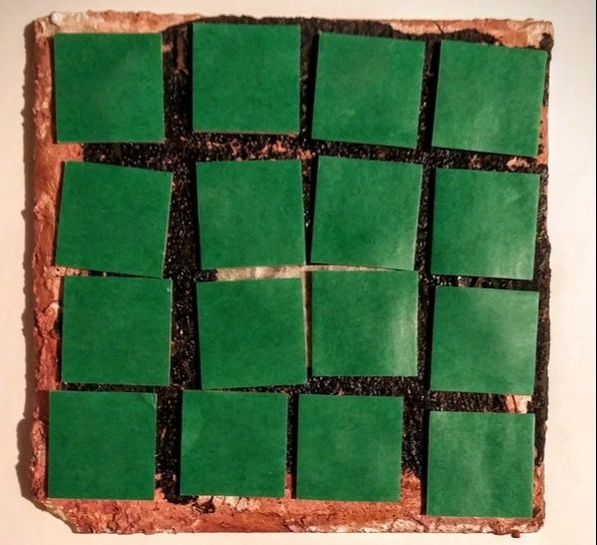 ...whatever this is is revealed. This tile is in storage at Winterthur-- not mounted in a fireplace--but this tile was too crazy to not include in this post. It was coated in a cellulose nitrate adhesive, then a black resin, and finally 16 adhesive tabs were attached over top--all of which retain their plastic barrier layers. Why and when this was applied remains a mystery... Exploratory Excavation of Vauxhall Fireplace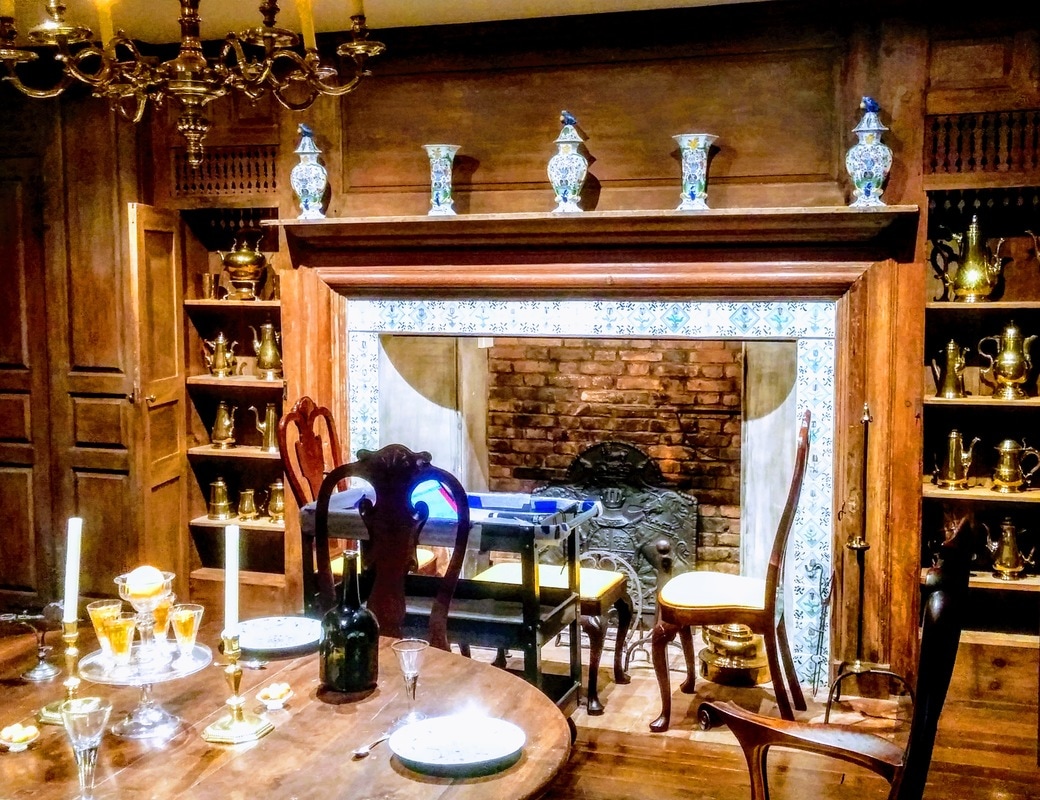 Since building records are eluding me at present, the only way to definitively know how the fireplaces were constructed is to perform exploratory excavations. Vauxhall fireplace on the fourth floor of the museum was damaged in a flood in the 1980s. While it appears structurally stable, the plaster surrounds are powdery and delaminating (below, left). The tiles show evidence of soluble salt damage such as cracking and spalling (below, right). Chemical spot tests reveal that sulphates, common in gypsum plaster (hydrated calcium sulphate, CaSO4•H2O), are the probable culprit. Part of my fellowship project may include dismantling the tiles in Vauxhall fireplace. This would allow me to treat the tiles in the conservation lab (much more ergonomic working conditions as you shall see). In order to conclusively determine how the tiles were mounted in the fireplace, my supervisor, Associate Objects Conservator and Assistant Affiliated Professor, Lauren Fair and I decided to remove one tile from the lower proper right corner of the fireplace. 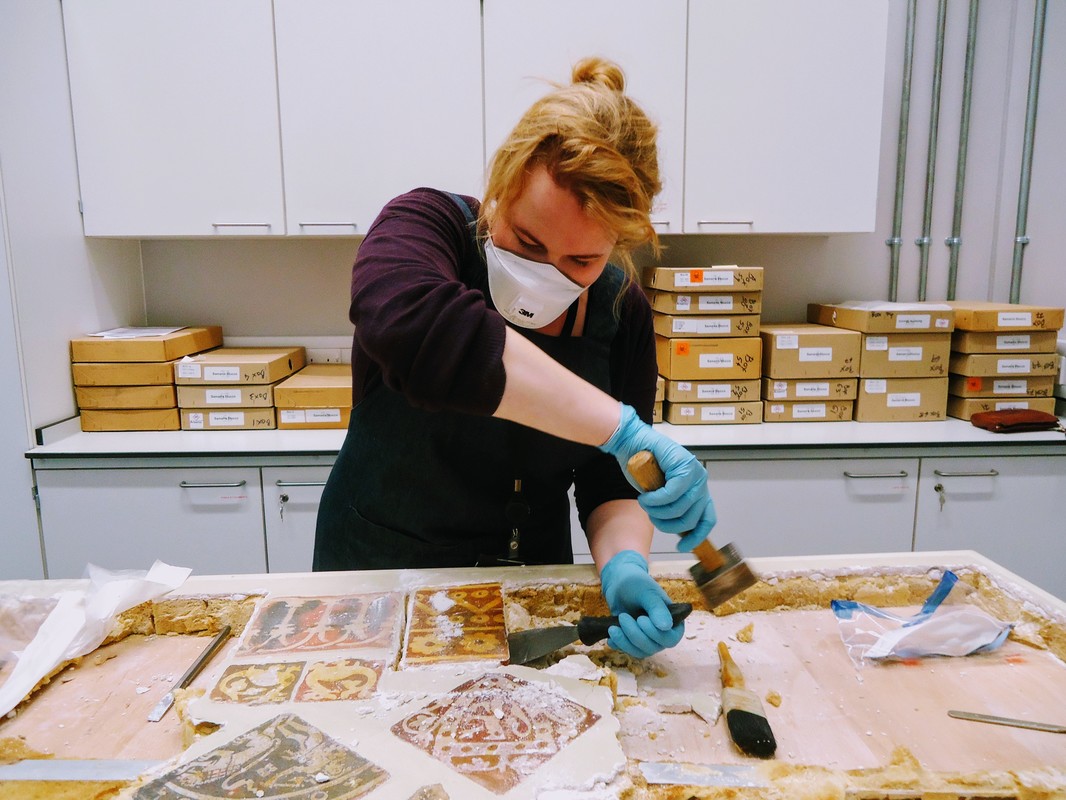 During my internship year, I participated in a project at the British Museum removing Medieval floor tiles from a panel (above). Based on my experience, Lauren and I decided that using a hammer and chisel was the best course of action to remove tiles from the Vauxhall fireplace. After a two-hour delay due to snow, we began the removal process! To protect ourselves from the plaster dust and chips, we wore dust masks, protective goggles, and nitrile gloves and vacuumed dust and debris as we went to minimize disruption to the rest of the objects in the room. To remove the tile, we decided to cut a channel behind the lower tile using a stone-carving hammer and chisel. This was accomplished by sitting or lying on the floor and crouching to strike the plaster at the proper height. Because the tiles are so tightly stacked, the only way to access the tile was from the proper left side. When we finally chipped most of the plaster away, we realized that the tile above had also become detached. To Deinstall or not to Deinstall...When the tiles were removed, we could clearly see that the fireplace had been constructed of brick covered in about an inch of plaster (above, center). The tiles were directly stuck into the plaster without a barrier to protect them from the movement of soluble salts. We still haven't decided whether or not we're going to remove all of the tiles to conserve them. A further consideration of the risks and rewards of deinstall needs to be undertaken. Stay tuned! Thanks for checking back! Be sure to check Twitter for updates under #WeirdTileoftheDay and #WeirdTileWednesday. Tune in on March 15th as I delve into my struggle to find where the tiles came from! 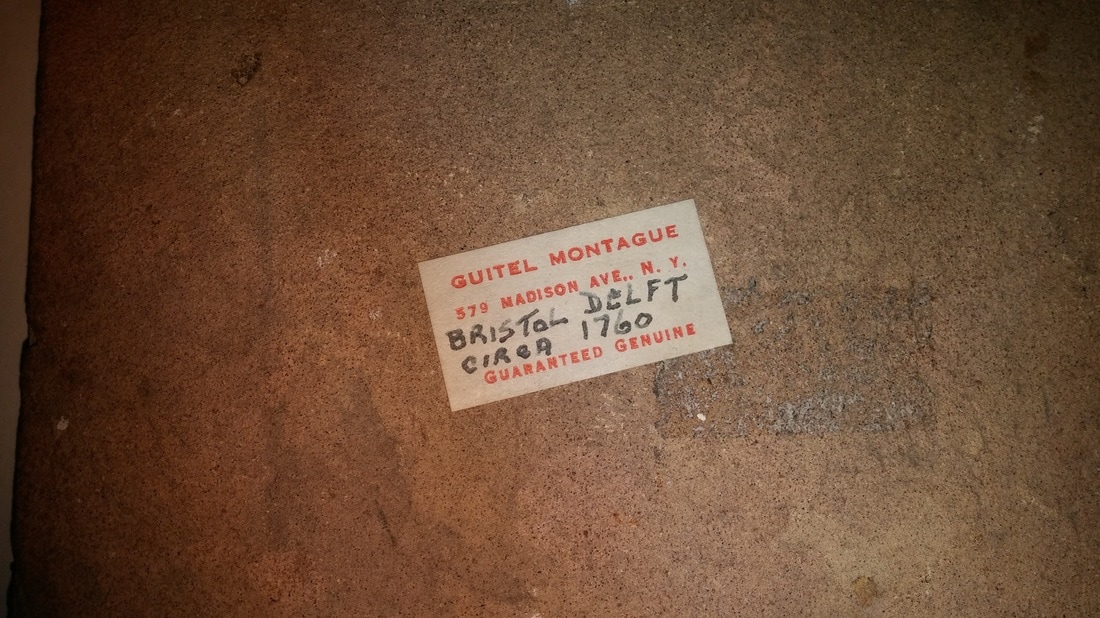 For more information see:
Durbin, Lesley. 18th Century Delft Tiles: English and Dutch Tin Glazed Tiles Circa 1650-1790. http://www.jackfieldconservation.co.uk/18th-century-delft-tiles/ Photos by author unless otherwise stated.
0 Comments
|
Madeline HagermanWinterthur Postgraduate Fellowship in Objects Conservation Archives
July 2018
Categories
All
|
 RSS Feed
